Saturday, November 13, 2010

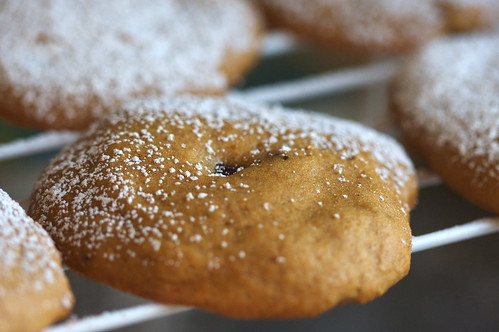
Pumpkin Chocolate Chip Cookies!


Ariel made some amazing pumpkin chocolate chip cookies a week and a half ago. I am attempting to replicate them with this recipe...

Recipe from Joy the Baker.

Ingredients
2 cups all-purpose flour
1 1/2 teaspoons baking powder
1 teaspoon soda
1/2 teaspoon salt
1 teaspoon ground cinnamon
1/4 teaspoon freshly grated nutmeg
1/4 teaspoon ground cloves
2 eggs
1 cup sugar
1/2 cup canola or corn oil
1 cup canned pumpkin
1 teaspoon vanilla extract
1 cup chocolate chips, or any chip you like

Directions
Position a rack in the middle of the oven . Preheat the oven to 325 degrees F. Line two baking sheets with parchment paper and butter the paper.

Stir the flour, baking powder, baking soda, salt and spices together in a medium bowl and set aside. In a large bowl, using an electric mixer on medium speed, beat the eggs and sugar until smooth and lightened in color, about 1 minute. Stop the mixer and scrape the sides of the bowl as needed during mixing. On low speed, mix the oil, pumpkin, and vanilla until blended. Mix in the flour mixture to incorporate it. Mix in the chips.

Using an ice cream scoop with a 1/4-cup capacity, scoop mounds of the dough onto the prepared baking sheets, spacing the cookies at least 2 1/2-inches apart. You could also simply use a 1/4-cup measuring cup if you don’t have a scoop. Use a thin metal spatula to smooth and flatten the rounds.

Bake the cookies one sheet at a time until the tops feel firm and a toothpick inserted in the center comes out dry, about 16 minutes. Cool them on the baking sheet for 5 minutes, then use a wide metal spatula to transfer the cookies to a wire rack to cool cimpletely.

Dust the cooled cookies lightly with powdered sugar. The cookies can be stored in a tightly covered container at room temperature for up to 4 days.

If I want to make whoopie pies out of these cookies...

Filling Ingredients
1/2 stick butter
4 oz. cream cheese
2 cups powdered sugar
1/2 teaspoon vanilla extract
1/2 cup mini chocolate chips

Directions
Mix together melted butter, brown sugar, 1 teaspoon vanilla, pie spice, pumpkin puree and eggs until smooth. Add flour, baking soda, baking powder and salt. Mix well until a thick batter forms. Drop by spoonful onto parchment lined cookie sheets. You need 24 cakes for 12 pies. Bake at 350 degrees F for 15 - 20 minutes or until toothpick inserted in center of cakes comes out clean. Cool completely and make filling.

Blend softened butter and cream cheese with vanilla. Add powdered sugar and stir until smooth. Fold in chocolate chips. Spread on 12 cakes and top each with another cake.

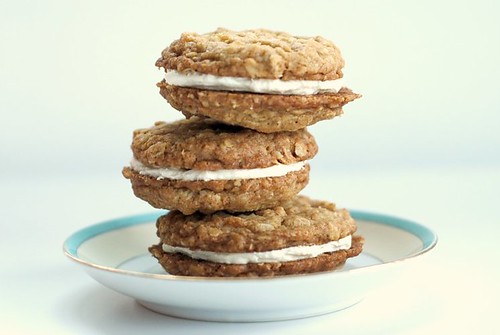
Oatmeal Creme Pies


I want oatmeal creme pies!!
Recipe from Marzipan.

Ingredients
1 1/4 cups butter, softened
1 cup firmly packed brown sugar
1/2 cup granulated sugar
1 large egg
2 teaspoons vanilla extract
1 1/2 cups all-purpose flour
1 teaspoon baking soda
1/2 teaspoon salt
1/4 teaspoon ground cinnamon
3 cups uncooked quick-cooking oats (I used the regular oats instead of the quick)

Directions
Preheat oven to 375°.

Beat butter and sugars at medium speed with an electric mixer until creamy. Add egg and vanilla, beating well.

Lightly spoon flour into dry measuring cups, and level with a knife. Combine flour and next 3 ingredients in a bowl, stirring well. Add oats; stir well. Add to butter mixture; stir until well blended. Drop by rounded tablespoons 2 inches apart onto baking sheets lined with parchment paper. Bake at 375° for 10 minutes. Cool on pan 2 to 3 minutes. Remove cookies from pan; cool on wire racks.

Spread 1 tablespoon Cream Filling over each bottom side of half of cookies; top with remaining cookies, right side up.

Creme Filling Ingredients
1/2 cup butter, softened
2 cups powdered sugar
1 to 2 tablespoons whipping cream
1 teaspoon vanilla extract

Directions
Combine all ingredients in a medium bowl. Beat with an electric mixer on low speed until combined, scraping bowl. Beat on high until light and fluffy.

Tuesday, November 9, 2010

More Presentation Inspiration


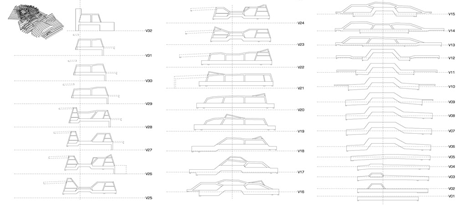
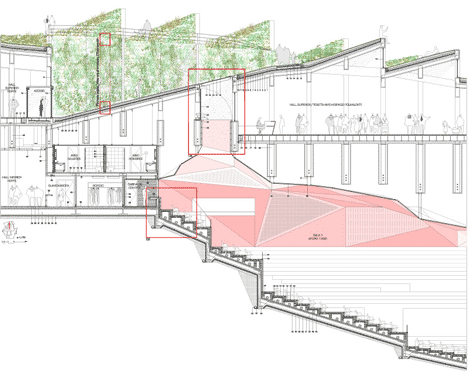
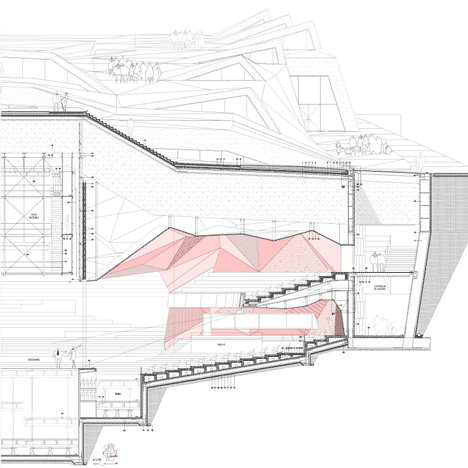
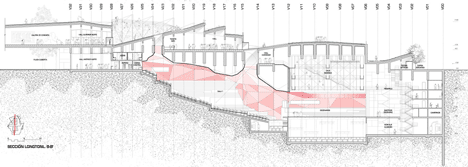
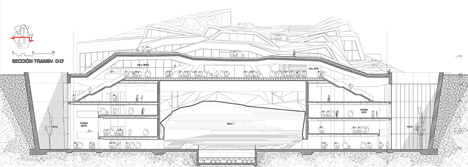
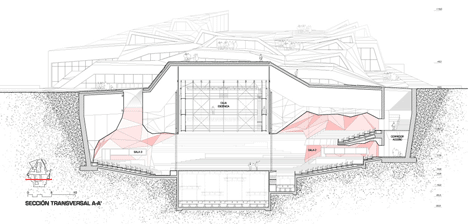
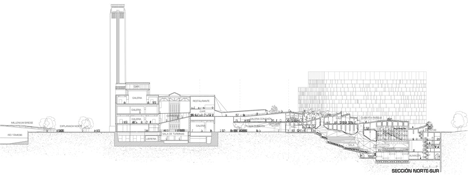
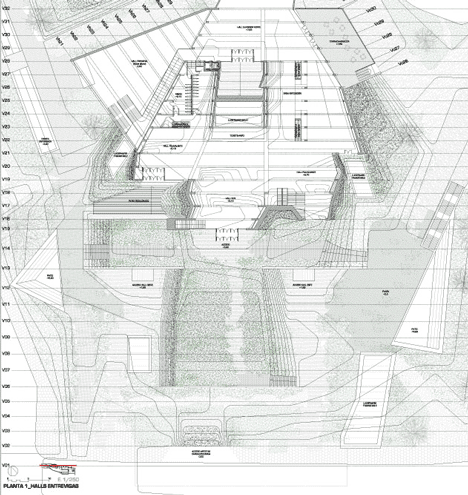
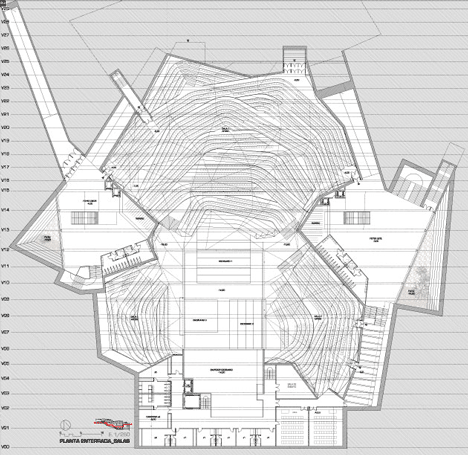
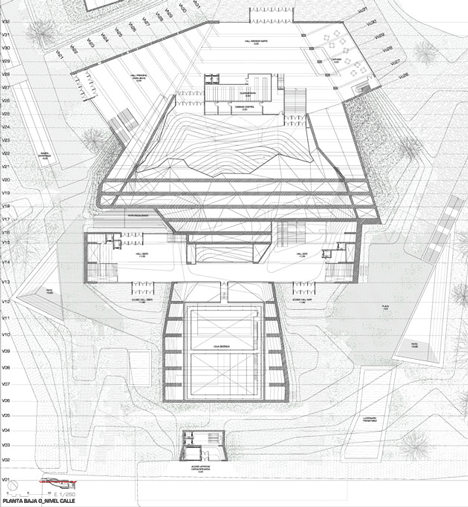
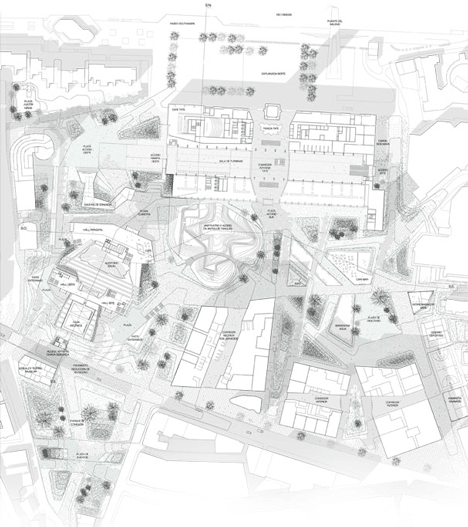
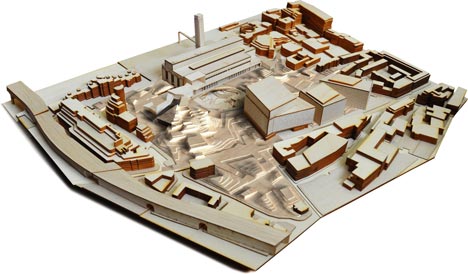
I really need to strengthen my presentation skills. Thus, more inspiration! This is The Cave by student Gonzalo Vaíllo Martínez.

Images from Dezeen.


Comic Presentation

Such an interesting way to present a concept... This is from the Briefcase House.

Image from Archinect.

Tuesday, November 2, 2010

Lanvin for H&M


Chances are low that I'll even be able to afford this "affordable" collaboration, but I do really like some of the pieces. A lot of them are architectural and interesting without being unwearable. Sounds like my kind of fashion...


Thursday, October 28, 2010

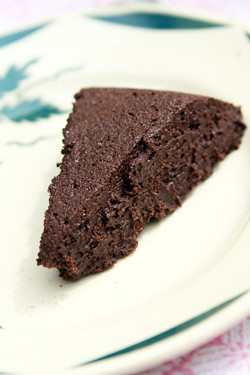
Chocolate Mousse Cake


Wish I had time to bake.

Recipe from David Lebovitz.

For similar results, use chocolate that is approximately 52% cacao solids and whip the egg whites pretty firm before folding them in. Line the cake plate with a clean cloth or thin tea towel. Best eaten 2 days after baking.

250 g (9 ounces) dark chocolate, coarsely chopped
45 ml (3 tablespoons) water
190 grams (7 ounces) unsalted butter, cut into pieces
3 tablespoons sugar, preferably light brown
4 large eggs, separated

1. In a medium saucepan, warm the chocolate, water, and butter over low heat, stirring, until melted and smooth.

2. Remove from heat and stir in the sugar.

3. Fill a basin or the sink with a few inches of very cold water and beat the chocolate for a few minutes until the consistency of brownie batter.

(The original recipe said “blanchiment” which I thought meant “whiten” but when she did it, it didn’t whiten, or even really lighten at all. But I’d still do it.)

4. In a separate bowl, beat the egg whites until stiff. Fold the whites into the chocolate mixture until smooth.

5. Moisten well a muslin cloth or a clean (lint free) tea towel, and line a 9-inch (23 cm) round glass or earthenware baking dish such as a pie plate, with it, letting the sides overhang the edges over the dish.

(Note: Although she normally uses and recommends a round dish, we used a square baking dish which worked fine.)

6. Scrape the batter into the dish and smooth the top. Lift the sides of the damp cloth and fold it over the batter, enveloping it.

7. Let chill for 2 days before serving.

To serve, open up the towel and invert onto a serving plate.

Friday, October 8, 2010

Handkerchief Invites


This is a pretty epic idea. These invites are printed on handkerchiefs - and the graphics are a map that help direct guests to the site. These handkerchiefs are for a wedding, but I imagine you could use the idea for any event that requires a map.

Design Sponge